Wednesday, January 20, 2016

Adventures in Bra Making Part II


Well, this sure was a bust! Looks nice though, doesn't it?

Too bad it doesn't fit...at all. 

The frustrating thing about bramaking is that you don't know whether something fits until it is completely finished.  The 34B white Marlborough that I made at Camp Workroom Social was a bit too small. Wearable but not perfect.  Norma noted that my cup size was between a B and C and advised that for my next bra (the black bra), I cut out a 32D.

Sometimes we must take two steps backward...The 32D doesn't fit at all around the band, though it appears to fit in the cups.  Even with a bra extender I can hardly wear it for 5 minutes!  Although the 32D black bra is unwearable, the sewing experience was still valuable. I really worked on better understanding the construction of the bra and made a ton of notes and changes to the Marlborough construction sequence, etc.with help from my sewing instructor Sharon.


Courtesy of the remnant bin at Sposabella! ($10 for the 3!)

I am bound and determined to make a bra that fits!  Especially now that I have invested so much time and money in the process.  Next up is a 34C using a remnant from Sposabella.  Here's hoping that third time is the charm!

***BRA-MAKING NOTES***
Technique

  • Don't forget to trim down the finished seam allowances after topstitching!  In particular after steps 3, 7, and 8 of the Orange Lingerie instructions.
  • The Orange Lingerie instructions have you measure out the wire casing along the actual bra cup and add 2 inches (step 12).  This means that 1 inch of casing is sticking out both at the center front of the bra and at the sides.  Once the bra is complete, you cut the casing flush with the bra center front.  After following these instructions, I found that the center front casing was peaking out a little bit from the bra center front in my white bra. For the black bra, I placed the center front casing about 1/8" below the center front and angled it slightly toward the center. When I sewed the casing, I was sure to angle in toward the centerfront and pivot before sewing the next casing/cup combination.  This resulted in a finished bra that didn't have the casing peaking out the center front.  Much better! 
  • The Orange Lingerie instructions had me clip the curves along the bra cup seam allowance.  Later, I would need to sew the underwire casing to the seam allowance.  It would have been helpful to have the uncut seam allowance when sewing the underwire casing to the seam allowance so that the underwire casing  has more seam allowance to "grab onto." Next time, I will not cut the curve of the bra cups.
Sewing Sequence
  • Complete the cups in full before attaching elastic to underarm (13A) and bottom band (13B).  Using the Orange Lingerie instructions, I skipped step 13 and instead completed 13A after step 19.


  • Attach the ring to the elastic first.  Next, create the strap elastic and place it through the ring.


Supplies
  • Demiwires:  The D cup underwires are a bit too large so I never put them into the casing of the 32D black bra.  I really prefer the look of demicups, so for my future C cup bra I am going to order demiwires from BraMaker's Supply.  Demicups (also known as "half cups") are shorter than the full underwire and are often characterized by being the same height at the front and the sides. See detailed explanation here
  • Thick vs. thin straps/elastics.  When I sized up to the D cup, I also sized up in the elastic (from 3/8" to 1/2") and the bra straps (3/8" to 1/2").  As Norma explained, this is intended to provide more support.  She suggests the larger straps/elastics for all D cup and higher.  I really don't like the look of the larger straps and intend to go back down to 3/8" for my future C cup bra.  

Sunday, January 10, 2016

Fête, set, GO!


My childhood best friend and second sister, Sara, is getting married in April. (Yes, MORE weddings....) Although Sara and Derek are our neighbors in NYC,  they will wed in our South Carolina hometown.  I am very excited!

My parents co-hosted an engagement party in honor of the happy couple in October. What to wear?  I was on the hunt for a conservative silhouette suitable for cocktail conversation with our parents' friends.

I decided to go with a fit and flare.  The pattern is a rub-off of a much-loved H&M dress:  1/4 circle skirt, waistband, bodice with bust and front/back lengthwise darts.  See the initial version here in black ponte.

The fabric is an Italian matelasse knit from Mulberry Silks in Carrboro, North Carolina.  The weight is similar to a light ponte. The dress is unlined.

I constructed everything on my sewing machine using the walking foot.  To stabilize the shoulder seams (which hold the weight of the dress) I sewed in seam tape along the seam allowance.


I sewed all seams using a straight stitch (not zigzag) before reading in a back issue of Threads magazine that zigzag is the stitch of choice for knits.  Apparently the zigzag stretches and recovers with the fabric.  In contrast a straight stitch easily breaks knits.  Is zigzag really a hard-and-fast rule for knits?   

I stay stitched all the pieces.  I thought this was probably overkill at the time, but it seems the neck gaping is from the fabric stretching out and not because I need to make additional tweaks to the paper pattern. Next time I work from this pattern, I will try to be extra careful to not stretch out the neckline and stay stitch immediately after cutting.

I really love how the sleevecaps stand off the shoulders.
In process picture of the sleeve caps


The sleevecap insides are not my best work.  If I had not been pressed for time, I would have made a bodice lining to hide the sleevecap construction, but admittedly I "franken-sewed" the sleevecaps to the armholes 2 hours before the party.  Luckily, it's not visible from the outside.

The horsehair hem is my favorite part of the dress!


The horsehair makes the skirt stand slightly at attention while still encouraging wavy movement.  Quite party festive, don't you think?

Wednesday, January 6, 2016

Turning over a Pink and Gold Leaf for the New Year!


My 2015 RTW Fast was marked by last minute sewing for special events.  I am pleased to say I turned over a new leaf in the final hours of 2015!

Originally I had planned to make Gertie's Bombshell dress for a New Year's Eve wedding in Boston.  I allocated Monday-Wednesday of the week between Christmas and New Year's to sew.  Since my office was closed for the week, I just assumed that lady-of-leisure-me could get it all done! WRONG.  By 3am Wednesday morning, I was only on lesson 9 of 16 of Gertie's Craftsy course (no longer available) and thoroughly enjoying the slow pace and couture techniques.


There was no way I would finish in time for our Thursday train to Boston.  So I stepped away from the sewing machine and went "shopping" in my existing wardrobe.  Turning up a New Year's appropriate me-made dress from December 2010!


Vogue 1174,  a now out of print Cynthia Steffe pattern.


I made Vogue 1174 for my husband's holiday party in London in December 2010.  It was a fancy British affair and I can remember being self-conscious about my me-made frock.  I haven't worn it since.

The pink and gold fabric is from Winmill in Boston.  I cannot remember the details of the dress construction.  This is quite an advanced pattern, as it involves boning in the lining and a 15 piece bodice. I worked on the dress over the 2010 Thanksgiving weekend with much needed assistance from my Mom.

For the Boston wedding, I accessorized the dress exactly as I did in 2010.  I wore a little leather and gold flower in my hair purchased on the day of the London party at Liberty.  I sewed up a matching stole made from the leftover fashion fabric and embellished my shoes with me-made shoe clips using gold organza and a rhinestone center.

Cheers to slow and deliberate sewing in the new year!

Tuesday, December 29, 2015

Low Marks but High on Cheer: Holiday Dress 2015


Last minute sewing for special occasions has dominated my 2015 RTW Fast...all the way to the end.  

In October, I picked up a beautiful purple paisley silk from Kashi with a simple holiday shift dress in mind.  Two nights before flying home for the holidays, I cut out view B of Simplicity 2586, only to discover the next morning that I had cut out two bodice front pieces instead of one bodice front and one bodice back.  


Don't ask how I did that!  I have no idea...


Don't look too closely.  


This is not my best work.  Even the gathering is wonky and uneven in the front.  And, don't get me started on the late night cutting mistakes that led to a bodice lining that is only 6 inches long.  Two things I am proud of:  I did a great job on the very narrow hem and on using bias binding for the armholes.  

This was my second time cutting out silk and the first time I tried to do so without laboriously hand basting the silk to medical paper before cutting.  The silk shifted while cutting. The next time I work with silk, I will try to just baste along the selvedge and 1 cut edge and sandwich the fabric between medical paper before cutting.  

In spite of the low marks on sewing, I received numerous compliments.  And from people who had no idea I had made the dress myself...Go figure.


For the holiday weekend, my brother and his girlfriend came in from Ohio and my sister made the trip from Raleigh.


There were many people to visit,  several parties to attend and still enough time for a family run and lazy afternoons dozing on the couch.   I love being home with my family.

We sure did eat well this year!  Champagne, torchon de foie gras, truffled pecorino, coq au vin, quail, mousse au chocolat, blinis and smoked salmon, les salades de Maman and so much more.  I am now eligible for a serious January diet..

Iles flottantes fait maison!!  


Tuesday, October 27, 2015

Camp Workroom Social 2015


What a wonderful weekend!  In mid-October, I attended the inaugural Camp Workroom Social sewing retreat at the Frost Valley YMCA in the Catskills.  Cue Dirty Dancing and pillow fight jokes (if you are ALL the husbands).

Camp Workroom Social offered six different sewing intensives:


I signed up for bra-making. Our class of 12 students was slated to make 2 Marlborough bras (one white and one black) over the weekend under the guidance of Norma and her lovely assistant Fleur.   Norma's Marlborough pattern has a contemporary and fresh look ideal for smaller chested women.  It's considered a full band bra because the cups are set into the frame. There is an underwire.


We had about 12-14 hours of sewing time over the weekend.  The class began with a private fitting session in "the fitting shed" (aka broom closet) with Norma.  Norma had prepared sample bras in every size with velcro backs.  Based on my fitting session, I cut out a 34B.

The 3 tables of bramakers!  

Norma is a very organized and thoughtful instructor.  Since ordering bramaking supplies can be tricky, Norma had us all order the supplies through her and she showed up to camp with them.  She also provided us with pre-reading from articles in Seamwork and Threads.  During class, she walked us through all of the steps and demoed the tricky parts. Truth be told, ALL the parts were tricky for me.  I had a very dyslexic moment on the first morning where I kept sewing the upper cups incorrectly to the lower cups.

It may look like Maidenform, but it's Me-Made!

Norma did a great job explaining the engineering behind the bra and the construction methods.  For example, she noted that the Marlborough employs small elastic on the upper cup lace to stabilize it and prevent it from stretching. (I have a lovely La Perla lace bra without a stabilizer that is totally stretched out.)

Narrow elastic sewn to the top of the lace on the side of the bra touching the skin

Norma also explained that the frame/band combination should be providing the bulk of the support, not the straps. She showed us how we should use the Direction Of Greatest Stretch (DOGS) across the body so that the bra moves with us and doesn't constrict.

Sewing the wire channels onto the bra.  This was tricky!

After a few minutes in the "fitting shed" with Norma and my new white bra, I sized up to a 32D for the black bra.  Norma explained that the sister sizes are 34B and 32C (down a band size + up a cup or vice versa).  Since I needed more volume in the cup, we needed to size up and out of these sister sizes.  We debated between a 34C and 32D, ultimately deciding on the 32D.  Norma explained that I am probably actually between a B and C cup in volume.

Making bra straps!

Most of the students were able to finish and/or baste the black bra enough to have a 2nd fitting with Norma.  I took my time and only inserted the cups/powerbar into the bridge/frame/band.  I plan to have it fitted by Sharon at my next lesson.  

Black bra in progress

Norma had placed beautiful sample bras on each table and I kept referring to the samples for the rest of the class.  Although I was happy to have the sample as a reference, the pattern instructions are excellent and they even include a few illustrations to help guide you through the particularly tricky parts.  I do wish that the pattern pieces had included a bit more information such as a marking of the center front on the upper and lower cups and a note on the seam allowance (1/4 inch).

When I returned home, I spent some time looking at the Bramakers Supply website (run by Beverly Johnson with whom both Norma and Sharon studied).   Norma had sourced the bra materials included in our kits from Bramakers Supply, including the tricot (Beverly calls it duoplex), lace, narrow elastic, wide elastic, wires, etc. I can't wait to finish my black bra and order supplies for the next one!  Check out these beautiful laces!  


Once I finish the black bra, I plan to deviate a bit from the fabric choices in our Orange Lingerie kits and follow some of Sharon's suggestions.  Instead of power mesh (Beverly calls it stretch mesh with spandex) for the band, I plan to try stretch satin.   Sharon says that this will provide more support.  And, I am not going to line the bridge with the power net.  Because I sized up to a D cup, the elastic straps for my black bra are much thicker.  Norma and Sharon both said that this was necessary to provide adequate support.  But, I intend to try it out with the thinner prettier straps. Instead of using narrow elastic to stabilize the lace, i am going to try silk bias tape/ribbon.


Enough sewing talk...what about the camp experience?  Jennifer did an AH-MAZING job coordinating and planning every detail of the weekend.  The foliage was at peak and the YMCA property itself was pristine.  We had fun morning and evening activities like the me-made trunk show, bonfire, yoga, etc. I even managed to go on a nice little run around one of the ponds on the property.


Can you see the horses in the distance?
But most importantly, the weekend attracted wonderful women from all over with varied sewing and life experiences.  I had a great time chatting with Amanda of Sewin' in the Rain on the shuttle bus to and from camp.  At my classroom table, Angela came all the way from Australia and had 30 years of sewing experience.  And, Kassie (Portland, OR) and Kara (NY State) had several years of sewing experience on me.  It was so fun to chat while sewing!

Bunk 12!!!
I had an awesome bunkroom (6 people) with 2 sets of friends from before camp (Christine+Jessica from Boston and Amy+Suzi from Texas and Minnesota) plus Lily (Seattle) and me. We were all taking different classes, but had a wonderful time sitting around in our pajamas drinking wine and giggling after hours.  What fun!

***

Dining Around the City

Gari:  Upscale sushi spot behind the Museum of Natural History.  I have been wanting to go here forever and had high expectations given all of the good reviews.  It was wonderful.  I can't believe we waited almost 2 years to eat here!  Relaxed service and the sushi was excellent.  I thought it was better than Jewel Bako and a good bit more affordable with more substantial portions. 

Awadh: This Upper West Side Indian restaurant was recently written up in the New Yorker.  The food is from the state of Uttar Pradesh.  I don't know Indian food well enough to appreciate the regional differences, but UP food is supposedly cooked over a slow flame.  Awadh's food is excellent.  Not too greasy, super fresh, and beautifully spiced sauces.  Plus, it's  moderately priced and in the neighborhood.

Richie's Burger Joint: Our neighborhood butcher, Schatzie, recently moved uptown and Schatzie's son Richie has opened a burger joint in the new space.    The restaurant is a no frills neighborhood place with beer on tap and a simple menu.  The burgers are wonderful.  Good beef really makes a difference. (Like a good legacy butcher, Schatzie grinds all meat to order and ALWAYS flirts with his female customers!) And after the meal, Richie stocked me up with sausages/pork/beef from the butcher counter.  Win win!

Huertas: Spanish tapas in the East Village.  I met a friend here recently for dinner.  The food was good, but not as good as I would expect for a place recommended by Smitten Kitchen and on the NYMag critic's pick lists. I don't seem to ever enjoy restaurants with small plates/tapas---always a bit too greasy, fussy, small and expensive.   

Fonda:  Upscale Mexican.   David Lebovitz posted about Fonda on Instagram several months ago and I immediately put it on my list.  We went to the Park Slope location with friends on a rainy Friday night.  I was disappointed by all the entrees at our table--glorified Chipotle. Definitely not returning to the Park Slope location. That said, the overpriced guacamole was very good with a smoky adobo sauce.

Mile End:  Artisan Jewish bakery on the lovely (and very posh) Bond Street in Soho. I had been reading the glowing reviews for months, but didn't want to face the queue. We slipped in without a wait on a rainy Saturday at 3pm.  Michael had the reuben and I had a turkey/mustard/turkey rillettes sandwich. Excellent all around.  I love that the portions were appropriately sized and the smoked meats are not processed.  We didn't try the Montreal style bagels...couldn't quite cheat on Barney Greengrass and their amazing NY style bagels.    

Westville:  Soo good.  There are several locations in the city.  We dined at the Chelsea location. The market vegetable plate is so fresh and tasty and lives up to its hype.  The service is relaxed and the wait isn't too bad.  

Tuesday, September 8, 2015

MADE UP: A Southport in Southport!


Greetings from Bald Head Island!  My favorite place on earth.

My family has been vacationing on this North Carolina barrier island for 30 years. With no cars on the island, everyone uses electric golf carts and bikes to get around.  It's bliss!
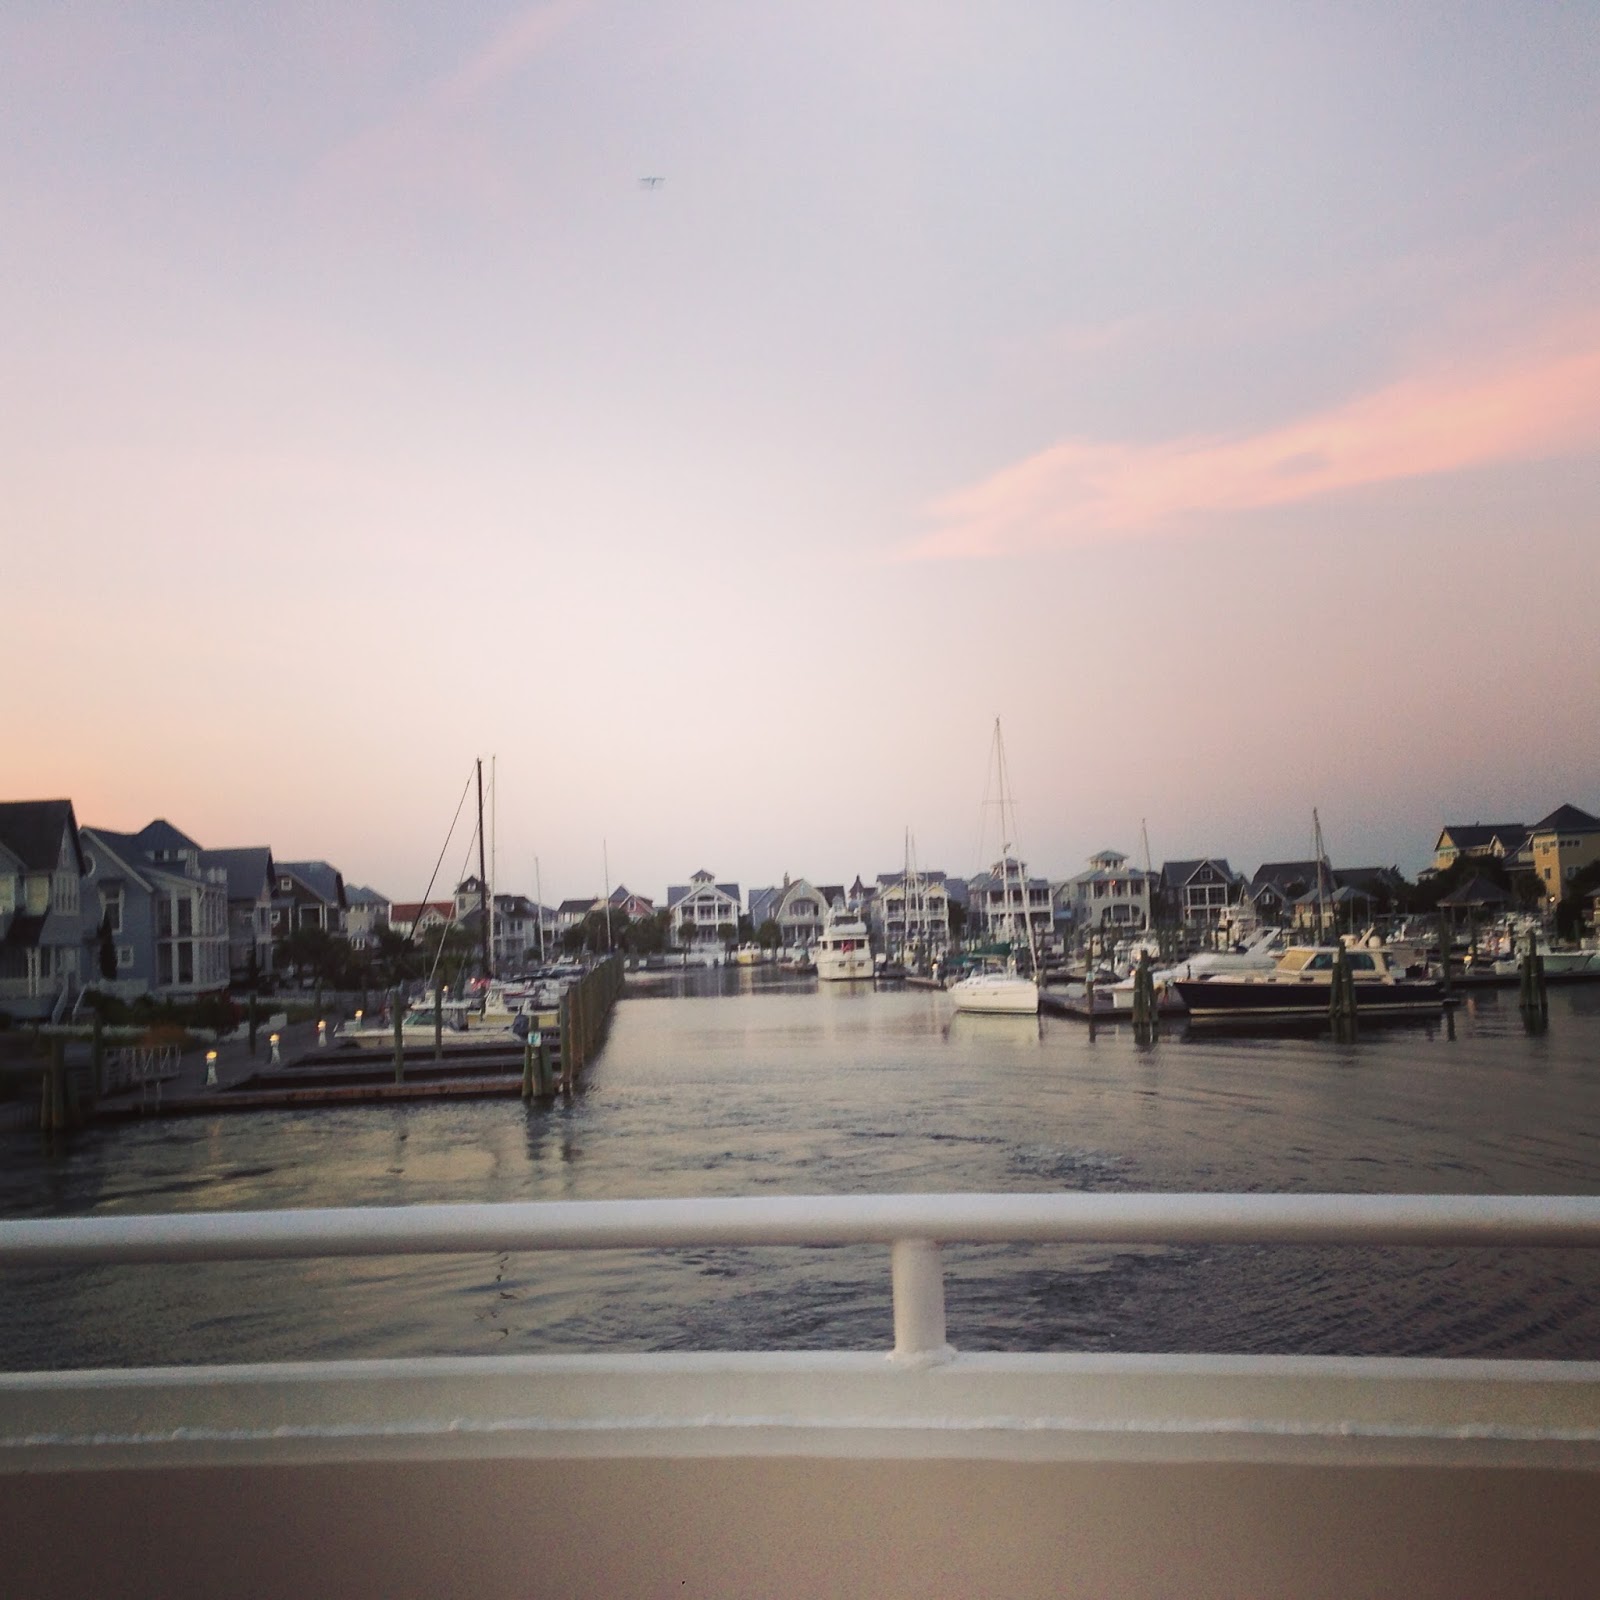
It has been a perfect holiday weekend with my husband, parents, and brother + girlfriend.  During the days, we kayaked, crabbed, sailed, read, biked and swam.  And in the evening we drank too much rosé and ate the perfect mix of local cuisine (boiled shrimp, homemade crab cakes, homemade peach ice cream) and la cuisine de Maman (cake salé, tagine d'agneau, Strawberry Cake).  

I am already looking forward to next year:  same time, same place, same people + my sister!  

Morning run on the beach! 


Never tire of this view...

Although we are always eager to get on "island time," every trip to Bald Head begins with a stop in Southport for boat passage.   If you follow the Indie pattern scene, you can probably see where this post is headed...

Here I am wearing my True Bias Southport Dress in Southport!


This dress is my submission to Did You Make That's  Made Up Initiative.  Karen challenged the sewing blogosphere to donate to the UK National Literacy Trust and commit themselves to something by September 10.  My self-set challenge was to wear my Southport in Southport over the Labor Day holiday weekend.

The buttons are repurposed from an old shirt of my husband's!


Construction: 


I cut out a straight size 4.  The cotton voile (?)  print is from Metro.

Using this tutorial, I made continuous bias tape and applied it to the neck and armholes.  Following the lead of others on Pattern Review, I made a faux button placket and used 1/2 inch elastic instead of a drawstring.  I did add decorative drawstring to preserve the "drawstring look."  The cotton is prone to raveling, so I finished my seams with a little hem.


En route to Southport in my Southport Dress after a great weekend!

I enjoyed making this dress, but did not feel a great sense of accomplishment.  I first became interested in sewing because I wanted to grow my skills to make the designer clothes I admire but cannot afford.  So, why did I waste precious time making a "fast fashion" copy with cheap fabric?  I am a bit torn as to the answer.  I have two competing voices in my head:

Whooa...Slow down Claire.  You are a newbie!  You haven't even mastered the invisible zip... Grow your skills and then cut into $$$ fabric and invest 40 hours in a couture jacket!  And, be practical and make the clothes for your lifestyle!
VS.
This is a hobby!  It's your free time!  Go with your gut and challenge yourself! (Try to) make the clothes of your dreams out of the starting gate! 

Both voices are equally emphatic--as you can tell from the uninterrupted stream of explanation points.  ;)  The answer probably lies somewhere between having a bit more patience with my current level of proficiency AND actively drawing inspiration from the haute gamme clothing I aspire to one day make.

***

Speaking of patience...Let me brag on my talented Mom!  She is well on the way to DIY slipcovering the beach house sofa.  Hasn't she done a beautiful job so far?

4 cushions done! Only the slipcover left to do! 

Beginnings of the slipcover!

Monday, August 24, 2015

Touchdown Anna

                            
Deadlines are my best sewing motivator.  I had 8 days till an Atlanta bar mitzvah celebration and no options I was jazzed about in my closet.  So, what's a Goodbye Valentino RTW Faster to do?  I cleared out my weeknights and hunkered down to make a dress, of course!

The sports-themed invite specified a dress code of Club Level Attire.   I had to ask my husband what "Club Level" was even referring to!  (Sports-fanatic I am NOT.)


I chose to "play it safe" with another By Hand London Anna.  This is my third Anna of the summer (see here and here) and I think I finally scored a touchdown on both fit and construction!

Yup...i finished the hem on the plane.  
                   
Fabric:

The fabric is from Metro.  It boasts an overlay of decorative straight stitching that creates a nubby texture.  According to my instructor Sharon, this is a sign of higher quality.   Cheaper fabrics would just uses a chemical solution to approximate a similar textured look.


I underlined the bodice with silk organza and fully lined the dress with cotton batiste. I chose cotton batiste for its breathability. (It is August in "HOTlanta," after all.)  Cotton batiste is known for stretching, so I stay stitched immediately.

Pattern Modifications:

With the Andover Anna, I felt that the back gaped a little, causing the bodice to feel like it was slipping off my shoulders.  To address this, I added back in 1 inch along each shoulder seam piece and blended it back into the original deep V at the juncture of the bodice back and skirt back.  For a more fitted look, I took out another 1/2 inch from the bodice side seams on each side (1/4 inch on each pattern piece). Finally, I cut the front of the skirt as one piece.  (The skirt front of my original "Show(er) Me Anna" was 3 panels and the "Andover Anna" was 2.)

Construction:

The pattern does not provide instructions for a full lining--only for fussy facings.   My instructor Sharon taught me this RTW lining method for the bodice, which I have used on all three Annas:

1. Sew the pleats on the fashion fabric bodice front and darts on fashion fabric bodice back.  Repeat for lining.

I had basted the pleats and darts before sewing by machine.

2.  Sew the fashion fabric bodice back to fashion fabric bodice front at the shoulder seams with right sides together.  Repeat for lining.  Attach the lining to the fashion fabric with right sides together, sewing continuously along the neckline and back V.  Clip corners.


3.  With right sides together (lining to fashion fabric), sew the sleeve hems continuously from back sleeve to front sleeve in the flat.

4. Edgestitch the neckline, back pieces, and sleeves.

Edge stitched!
5. With right sides together, match the side seams of the fashion fabric and side seams of the lining and sew up the bodice side seams continuously from fashion fabric bottom to lining bottom.

All pinned and ready to sew up the side seams.  

Area of Improvement
  • My skirt lining didn't seem to match perfectly with the bodice lining.  I had excess skirt in the lining and had to make a few small pleats in the skirt lining to remove the excess.  What happened?   At first I questioned whether it was bad cutting (i don't think so)? Or did the skirt lining pieces stretch (doubtful because I stay-stitched immediately)?  But, then I realized that I had taken more than the 5/8 inch seam allowance for the zipper enclosure--more like 1.5 inches.  I did this so that the zipper would match right at the Deep V juncture of the 2 bodice back seams.  Since I forgot to take out an equal amount of the skirt lining, the skirt lining circumference was greater than the fashion fabric skirt circumference. When I went to fell stitch the lining skirt to lining bodice, I had excess skirt lining.  
  • In spite of my additional modifications, the back pieces are still gaping a bit.  
  • The top of the invisible zipper is visible and I need to fix it before i wear the dress again! 
Invisible zipper needs some help!  


I am so glad I gave this pattern a 3rd try and FINALLY experienced a stress-free sew! I think it's time to retire the Anna to the TNT Hall of Fame, bring out the muslin bolt, and start on something new.