Thursday, June 18, 2015

Alaska Part I: Cruisin' the Inside Passage

We spent our big vacation of 2015 in Alaska: 7 days cruising the Inside Passage in honor of my father-in-law's retirement followed by 3 days of adventuring on the Kenai Peninsula.


The cruise embarked from Vancouver.  Here we are in Stanley Park.

The Inside Passage is only a small portion of the vast state of Alaska and is an archipelago bordered by mountains.  It hugs the coastline from the Puget Sound all the way to the Kenai Peninsula south of Anchorage.  Because of the calm waters most Alaska cruises are within the Inside Passage.  The landscape is mostly temperate rainforest with snow-capped mountains.  It's also home to the only tidewater glaciers on the Pacific coast.


Ketchikan

For our first port of call, we did a family salmon fishing excursion at Knudson Cove.   Most of the King Salmon in the area where we were fishing were actually hatchery salmon.  This means that they were spawn at a hatchery and released.  The physical characteristics of hatchery salmon are different from wild salmon and they are smaller.  "Sammy Salmon" was a typical hatchery salmon--around 30 lbs and producing 7-9 lbs of salmon steaks. 


"Sammy Salmon" poses with the family


Icy Strait Point/Hoonah

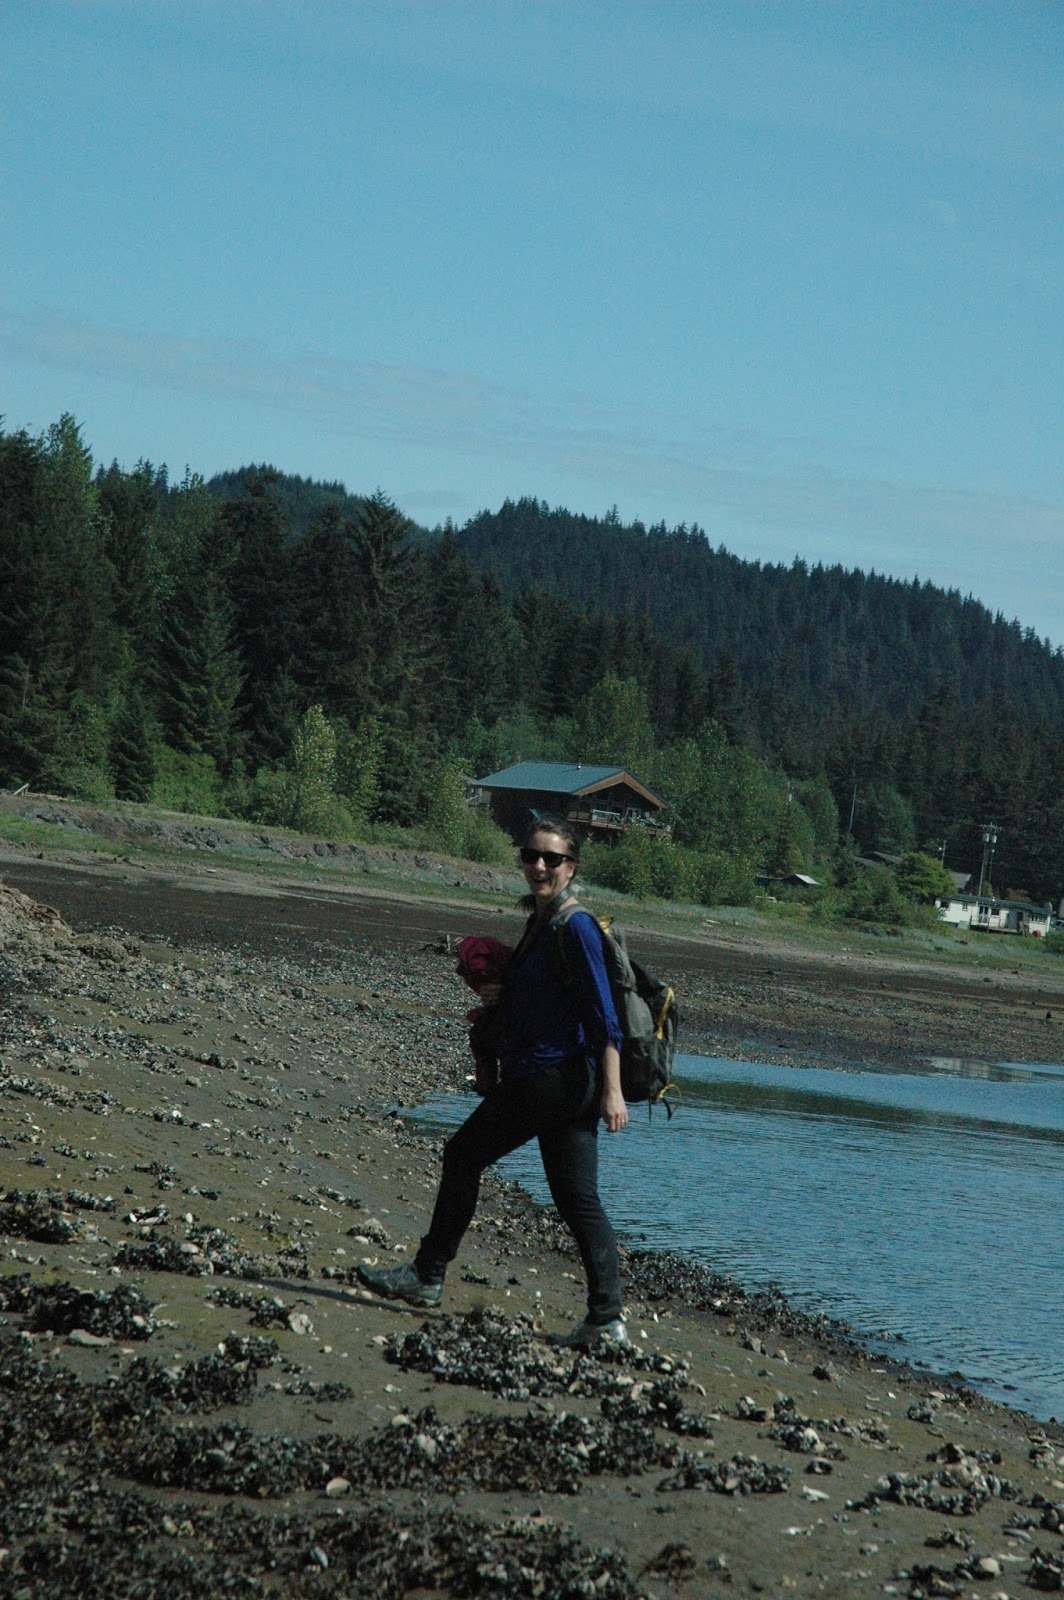
We had no planned excursions for Icy Strait Point/Hoonah, located on Chigahof island.  I had read that there were no hiking trails in the area. Finding that hard to believe (this is Alaska, right??) we asked a number of locals, all of whom advised us not to go into the woods because of the dense bear population. So, what to do?  We walked from Icy Strait to the Tiglit community of Hoonah and continued down the road.  When we came upon a nice little log cabin home with an elderly gentleman in the yard,  I put on my biggest smile, walked into his yard, and started chatting.  When we told him we were in search of some nature, he pointed to his backyard which abutted an inlet and told us we were free to go there...

Walking into Hoonah
Hoonah

Local's backyard trail in Hoonah

Juneau

Prior to the cruise, I had reserved an all-day trek of the Mendenhall Glacier with Above & Beyond AK for our day in Juneau. Above & Beyond AK promised an active day for adventurous travelers.  It was the highlight of the cruise for Michael and me! 

In front of the Mendenhall
                           
Adjacent to the Juneau ice field (which is the size of Rhode Island), the Mendenhall Glacier is a favorite tourist destination for cruisers. Now is the time to see the glacier, as it is currently receding at an impressive rate.  Not surprisingly,  it's heavily studied by scientists researching global warming.

After our guides outfitted us with crampons, harnesses, etc. we hit the trail.  It was a 4+ mile trek to the base of the glacier itself, with a little bit of rock scrambling involved.

On the Mendenhall Trail

Mendenhall Trail

Mendenhall Trail

The Mendenhall is situated in the Tongass National Forest, a temperate rainforest. This made for a nice hike of contrasts---green and humid on the rainforest trail vs. icy and cold on the glacier.  We finally made it to the glacier, put on our gear and started our 2 hours of ice time!

Ice axes!!  These proved quite handy...


Michael climbing on the glacier

On the way down the glacier, we stopped in a REAL ice cave.  It was an amazing experience!


Skagway

Skagway is a Klondike gold rush town on the border to the Yukon.  As soon as we arrived in town, we made a bee line for the National Park Service Ranger station and asked for a hike suggestion.  Within minutes we were at the trail head for Upper Reid Falls. We saw very few people on the 7 mile trail which was a welcome relief after the close quarters of the cruise ship.

That evening, Michael's family honored our 1st wedding anniversary with dinner at the Millenium's Olympic Restaurant.

Olympic Restaurant


For our final day at sea, we cruised into Yakatak Bay to see the Hubbard Glacier.  The captain maneuvered very close to the glacier itself and we enjoyed watching the "calving"--breaking off of pieces of the glacier--into the bay.

Hubbard Glacier

Hubbard Glacier

And, here we are the last night of the cruise in an impromptu ping pong tournament with some lovely Chileans.

Ping Pong Tournament!

Stay tuned for part II of our Alaskan adventures in Homer on the Kenai Peninsula...


Monday, June 8, 2015

RTW Fast Interrupted


I might as well come out with it.  I broke my Goodbye Valentino RTW Fast.

I was chugging along just fine these past five months with no temptations.  Sure, I never found time to make a Linden sweatshirt or some basic knit tops, but I had enough clothes and determination to not be tempted.

Cue: work stress, life stress, no sleep, and an awesome and much-needed vacation to Alaska.

Result: I bought two activewear tops, a sweatshirt and one horrendously ugly pair of Lululemon pants.

So, how did I let this happen?   It was the perfect retail therapy storm and I should have seen it brewing.  After working late into the evening most nights the week before our first wedding of the season (Atlanta), I came home to my sewing machine and burned the midnight oil trying to finish the Anna.


I threw the towel in at 2am the night before leaving when I  realized that that the skirt seams didn't match up with the bodice pleats. This was AFTER I had french seamed 7 seams (x2 for the lining). Exhausted, I went to sleep in tears!  Yes, I cried over the dress and a thousand other things.  It was the classic "why [I] still can't have it all" pity party.

I wore my guipure lace Laurel dress to the wedding (originally worn at our rehearsal dinner)
Since the wedding was Sunday evening, we flew home at 6am on Monday.  I was on the road again within hours for a presentation at my company's Boston office.  Tuesday evening, with my presentation finished and a mountain of work waiting, I *somehow* found myself at the Boston Eddie Bauer outlet. I couldn't resist the 40% off sale and scooped up a Linden-style sweatshirt, long sleeve activewear hoodie, and short-sleeved workout top.


I felt a little guilty about breaking the Fast, but I was too exhausted to care.  These were all items I had wanted to sew, but never prioritized.

I returned to NYC on Thursday at 3am with just enough time to pack for Alaska.  In Vancouver on Friday morning, I spied the flagship Lululemon store across the street from our hotel and emerged with what is quite possibly the ugliest pair of pants on earth.  Lululemon's "Hot to Street" pants were on final clearance and I know why.


What was I thinking???  A bit too HOT for me...


With 10 wonderful days of vacation under my belt--including one 16 hour stretch of uninterrupted sleep--I'm ready to renew my commitment to the Fast and finish the Anna.

I leave you with a few pictures from our Alaskan adventures.

Harding Icefield Trail (Seward, Alaska)

Wearing my EB hoodie just before we trekked on the Mendenhall Glacier (Juneau, Alaska)
INSIDE an ICE CAVE on the Mendenhall Glacier (Juneau, Alaska)
                         

Thursday, April 30, 2015

Keeping up with the Lululemons!


Have you ever caught yourself in gym class admiring the toned lady on the mat next to you in her perfect little [Insert Overpriced Athletic Wear Here] outfit?  Well, I plead very guilty!

JEALOUS NO MORE!


HELLO PEACOCK SPANDEX!  

The Fehr Trade Steeplechase leggings made their debut at this weekend's New York Road Runners 4 mile race in Central Park.  Among the almost 10,000 runners, I didn't see a single person with pants like mine. Ahh...the RTW Fasting benefits of not allowing yourself to shop...

                                           Steeplechase Leggings
All it took to sew these up was one lovely Sunday afternoon at my friend Carol's using her serger. Since there are no inseams, the ENTIRE pants are constructed of four pieces.  I cut out a mirror image of these two oddly shaped pieces:


The peacock spandex is from Spandex Lab in the garment district.  Isn't it fun?


Now that I have one pair finished, I'm eager to try the other two garment district spandex stores (Spandex House, and Spandex World) for more fun prints!

Saturday, April 18, 2015

Adventures with "Anna": Muslins

Our first wedding of the season is next month and I have a lot of sewing to do to make the deadline.  I am planning to make the By Hand London Anna Dress.


Since this is my first time making the Anna, I started with a muslin to check the fit.  According to my measurements, I am a size (34) in the bust, (28) in the waist, and (39) in the hips.  For muslin #1, I cut a straight size 6, which corresponds to a 34-27-37.

The front actually looks pretty good:

Muslin #1 Front

But, you can tell from the sides that this muslin will not be the last!  The pleats are cutting straight into the center of my chest and the side seams are not straight. Clearly, I cut a size too small.


I had read in Sarah Veblen's Perfect Fit to blend between the sizes if your measurements don't conform to the bust-hip-waist of a particular size. In my haste to blaze through muslin-making, I completely ignored Veblen's sage advice.  After showing muslin #1 to my instructor Sharon, she sent me back to the pattern paper to blend the sizes.  I was all over the charts with the results of the blended pattern paper, from a size 6 in the bust to size 10 to account for my (apparently large) rib cage.

Retaped pattern pieces with new stitching lines
Sharon encouraged me to mark my stitching lines on the new muslin and give myself a full 1 inch seam allowance for further adjustments, as opposed to the standard 5/8. She also stressed the importance of stay-stitching the neckline (even for a muslin!) and drawing in the center front line.

To fit muslin #2, we only pinned the shoulder seams, leaving open the sides and not sewing/pinning the front pleats or back darts. With muslin #2 on me, Sharon moved the front pleats to a more pleasing place and adjusted the shoulders so that the shoulder seam is in harmony with the curvature of my shoulder bone.  Then she created new side seams by pinning me in.  We made lots of notations on muslin #2, in preparation for muslin #3.  I learned from the fitting that my left shoulder is higher than my right.  Who knew?

Muslin #2

Below is muslin #3 (!!)  SO MUCH BETTER!

Muslin #3 Front

Muslin #3 Side

For the sake of comparison, check out the side seam lines on muslin #1 vs. muslin #3!


Phhew! I'm now ready to use muslin #4 to sew up a wearable muslin. Stay tuned!


Sunday, April 12, 2015

"Mommy & Me": Redux


Yes indeed those are matching "Mommy and Me" skirts!

During my November 2014 visit to see my sister in Raleigh, North Carolina, my mom and I checked out Mill Outlet Village. We picked up a bouclé on clearance for $7/yard, while waiting for the saleslady to measure out fabric for Maman's ambitious beach house slipcover project.

We were both set on making pencil skirts and I bet her I would have mine finished in time for the holidays in France.  Of course, she showed up with the finished skirt (and a coordinating bouclé jacket) and I had nothing to show for myself.

Next, I decided I would finish the skirt for our next Raleigh girls weekend in early March.  Ever confident that I would make the deadline, I asked her to bring her skirt for a "mommy and me" photo.  Instead of finishing the skirt, I found myself on the couch with a friend eating cookies and drinking wine the night before my flight...:)

Maman in Raleigh with her skirt:


We both used McCalls 3830 and I followed her lead on the initial construction. After cutting, I immediately zigzagged the edges to prevent unraveling and interfaced the waistband for stability.


She always sews her lining to the zipper by hand.  Contrarian daughter that I am, I wanted to install mine to the zipper by machine.  So, I made up my own rules of construction without consulting the internet (gasp!).  Instead of sewing the lining in full and then attaching it, I installed the two individual back lining pieces to the invisible zipper.  Next, I sewed up the sides of the boucle BEFORE sewing the lining side seams. Finally I attached the lining to the waistband with right sides together and edge stitched all the way through the boucle, lining, and seam allowances.  If you are a seasoned sewist, you should be shaking your head right now!

(Yes, we are even wearing the same belt!)
 

I had a feeling something was wrong, so I waited for Sharon to weigh in at our next lesson.  Let's just say that I now understand that I need to sew the bouclé and lining in full before attaching one to another.  For the record, I did reattach my lining to the zipper by hand.  Moms always do know best!


The skirt now looks near perfect inside and out!

Tuesday, February 24, 2015

Wardrobe Planning for the Season of Love

With the Hallmark DAY of love behind us, I am starting to look forward to the real SEASON of love...WEDDING SEASON!

So far, we have three weddings to attend this year:  Georgia in May, Nantucket in July, and Alabama in September.  Here's what I have on the drawing board for my wedding guest wardrobe:

Dress # 1:


Pattern: Gertie's bombshell dress or bombshell bustier with silk organza maxi skirt.

Fabric: I am using my prized Thai silk, purchased on a work trip to Bangkok in 2013. 


Progress:
I have already muslined the bustier and cut and basted the underlining to the silk fashion fabric.  


Dress # 2:


Pattern: Anna dress

Fabric:  Baby blue lace from Metro, with ivory crepe de chine lining.


Progress:  None.  

Dress #3:


Pattern:  Gertie's Bombshell bustier + midi skirt

Fabric:  TBD --  Cashmerette's Jenny posted about this silk gazar fabric from B&J and I couldn't help but fall in love with it!  I went to B&J last weekend to check it out in person and am *thinking* of splurging on it for the midi skirt.  

Progress:  None.


Sunday, February 15, 2015

Plaid Pixies!


I must have been thinking happy thoughts, because my Pixie dust is working!


This is my 2nd pair of  knock-off J. Crew pixies and I love them.   This time around, construction went A LOT faster than the originals.  The only glitch occurred when I realized that the plaid had less stretch than my initial pair, and I couldn't get my calves in comfortably.  So, I added a 2 inch wide strip of fabric to the side seams and was back in business.  I don't think it's too noticeable, right? 


I installed a couture hook and eye closure by making the "eye" out of blanket stitches--not quite sure what I think of this method, but I'm glad I tried something new.

I ordered the plaid double knit from Emma One Sock. My blog photos really are terrible quality, but the plaid itself is quite good looking!  Since shipping costs were equal to a subway ticket to the Garment District, I plan to order from EOS again soon.